Google My Business is Free, Simple, and Incredibly Important for Your Website
The first page of Google is the Holy Grail of online marketing. Over 75 percent of internet searchers click on one of the first-page results. One way to get there is through the effective use of keywords, website authority, and on-page SEO combined with patience and perseverance. Another way is to purchase search ads in your niche. There is, however, another way to jump onto the screens of your sought-after audience: Google My Business. It’s free, simple to set up, and by far the fastest way to get in front of your customers on that coveted first page.
Why You Should Set Up Google My Business If You Haven’t Yet
Visibility. When you set up a Google My Business account you are allowing the search engine to help people who are local to your business find you when they are searching for a service or product you provide. Google uses the physical location of your business to curate a list of you and your local competitors for potential customers to see.
Local SEO. By appearing in local searches, you are increasing organic traffic to your website. What’s more, that traffic is targeted traffic. Engaged traffic. While not a replacement for quality content, keywords, and functionality, appearing in local results will improve your overall SEO rankings.
Branding. Google My Business allows you a certain amount of control over what people see when your business comes up in the search results. Reviews, pictures, and a description of what you offer is free branding for your enterprise and when it comes to marketing free is always beautiful.
Google My Business: Step by Step Setup
To get started, simply go to https://www.google.com/business/ and click the manage button. There are going to be about a dozen screenshots here, but they are all quick and relatively painless. Let’s get our business listed on Google!
Step 1: Add Your Business To Google
See if your business is already listed in Google. If it is you can ‘claim’ it to edit the details. We will assume your business is not yet listed in these instructions. In which case you will click ‘Add your business to Google’.
Step 2: Enter the Name of Your Business and Select or Create a Category
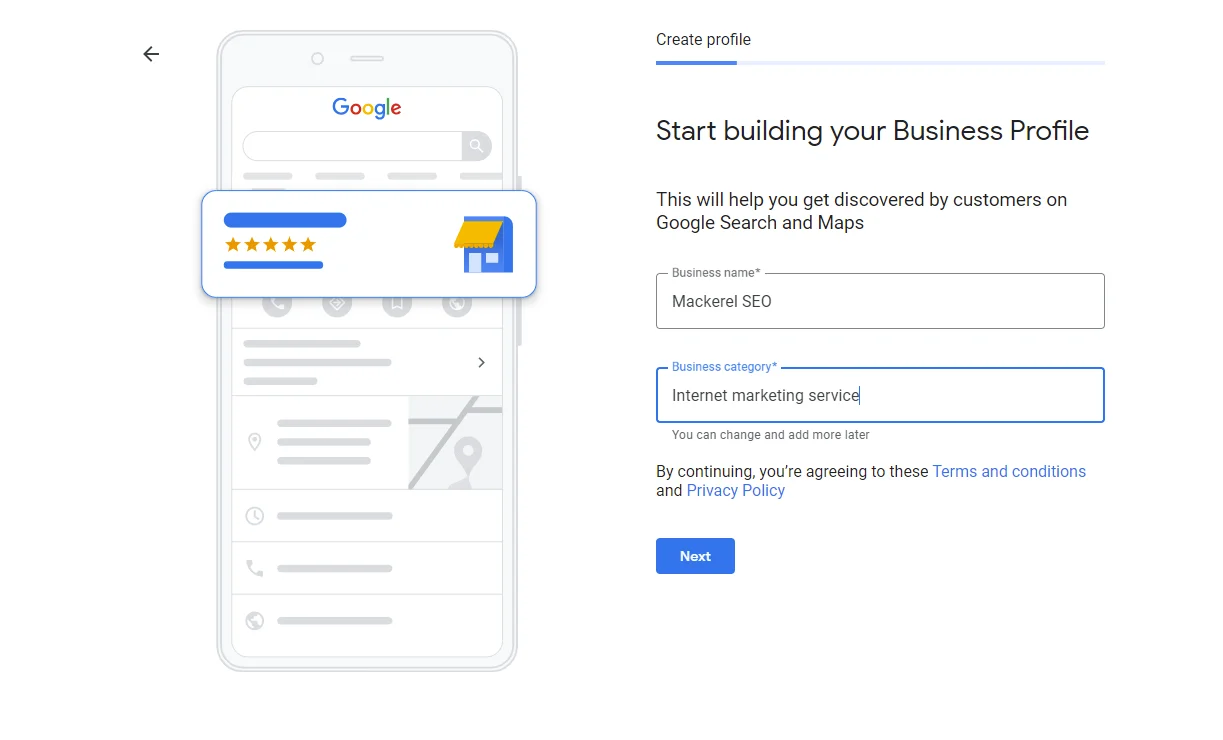
When choosing your business category, you could very well find that the category you want is not automatically listed as an option. No problem. Simply create your own category that best describes the type of business you have.
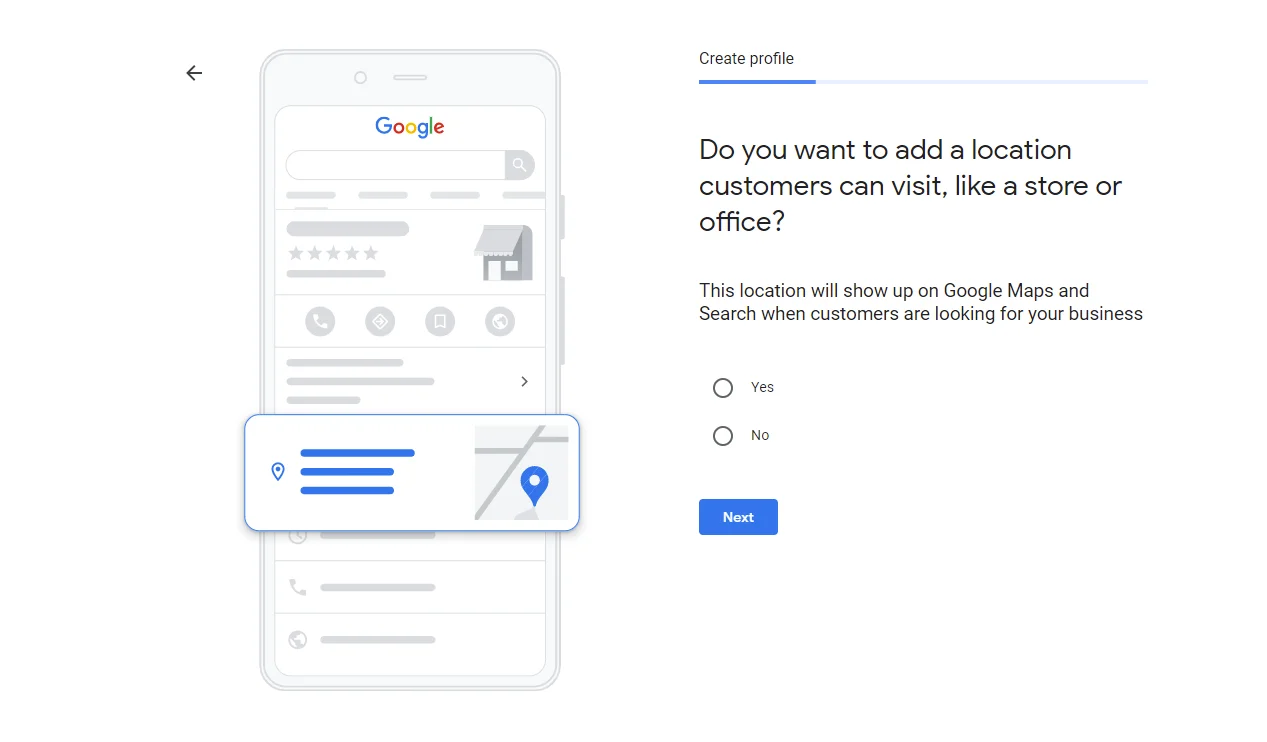
Step 3: If You Have a Physical Location or Office, Select ‘Yes’

If you have an office or a physical location for your business, enter it here. If you don’t, no worries. You will have the option later to describe your service areas on another screen. (Even if you have a physical address you will still be able to describe your service areas later on).
Step 4: Enter the Cities you Service
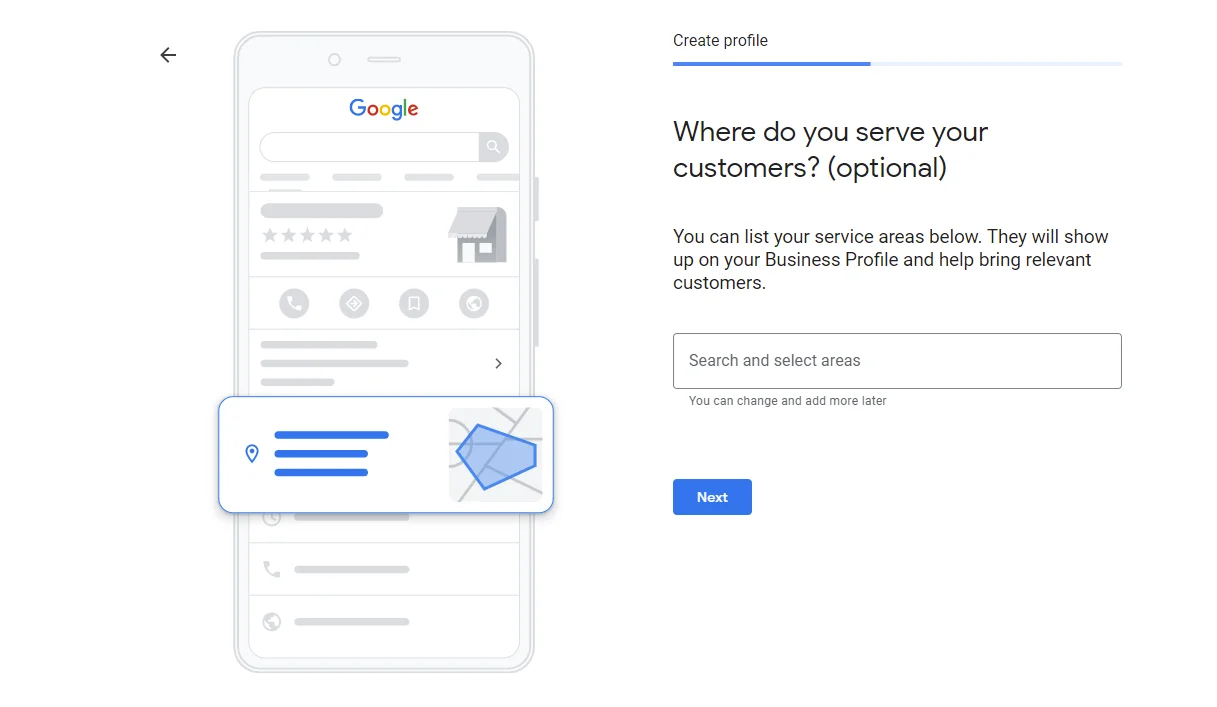
Here is the screen where you can expand the areas that you will be seen in Google’s local listings. You can select as many areas as you wish, but you can always change these later on your Google My Business dashboard.
Step 5: Enter Your Contact and Website Information
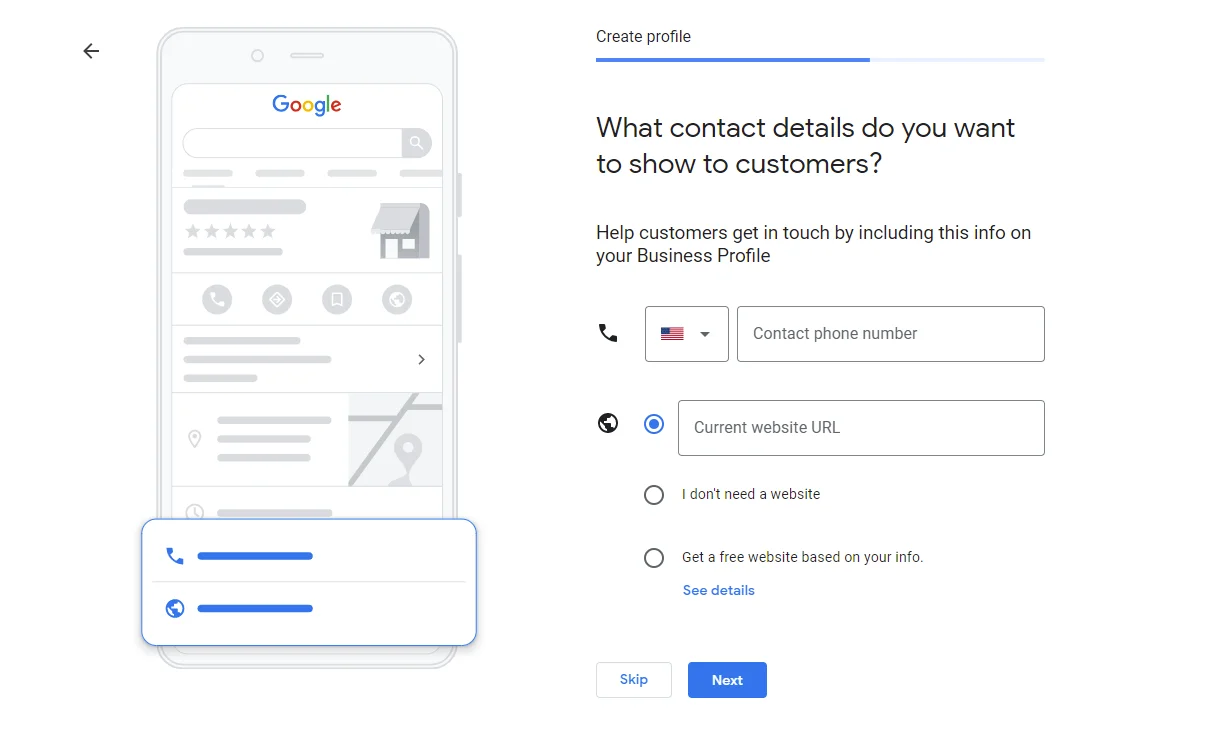
This is where you will let potential customers know how to reach you. The fields are not mandatory, so if you don’t want to reveal a phone number, you can simply leave it blank. Your website, if you have one, should absolutely be written in here.
Step 6: Select ‘Yes’ for Recommendation from Google
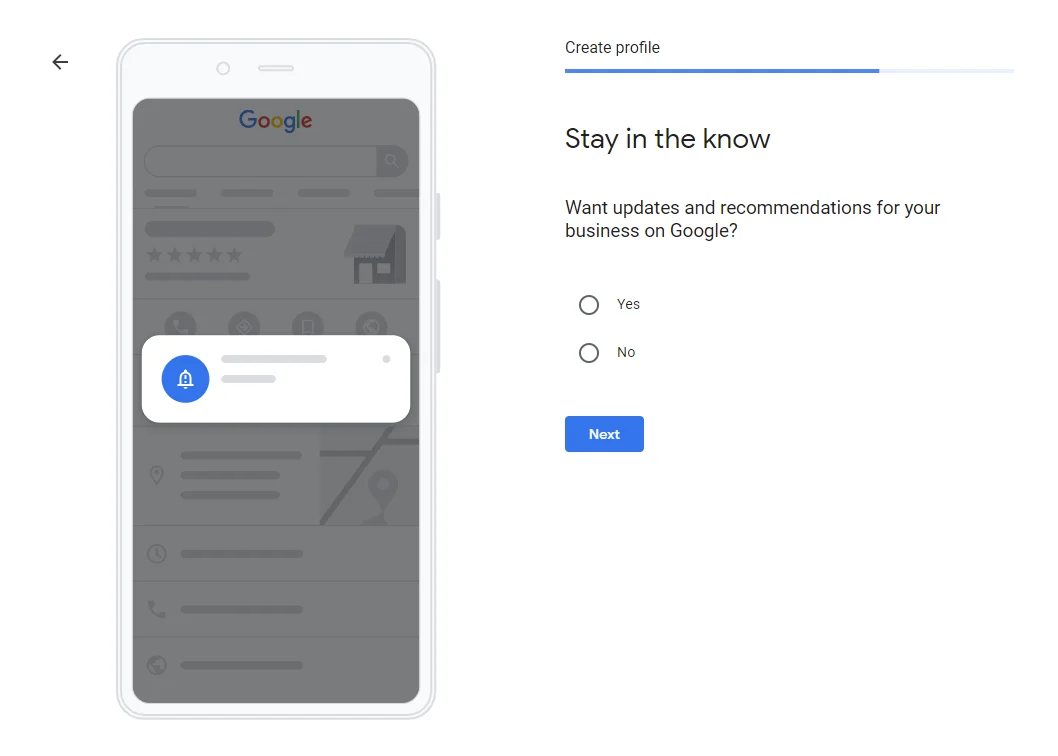
Unlike most “opt-in” features where we would select ‘no’, I feel that Google’s recommendations are very useful to help you gain a better understanding of how to place your business higher in its local rankings. I suggest saying ‘yes’ for now with the knowledge that you can always change it later.
Step 7: Choose a Method for Google to Verify Your Business
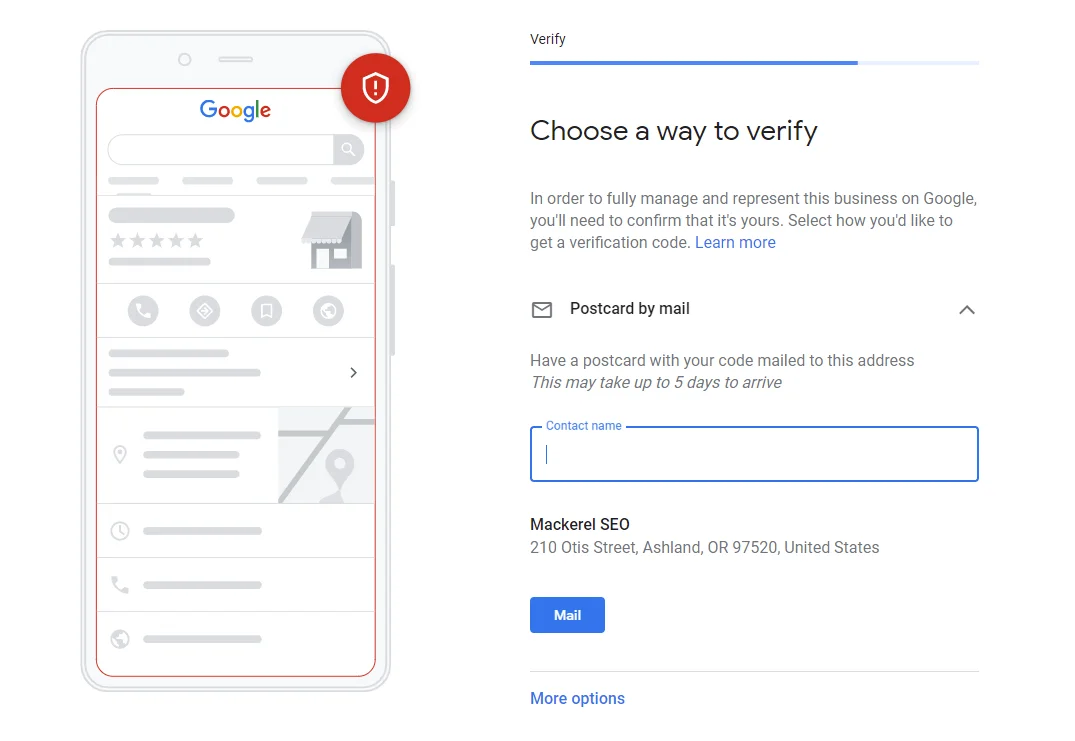
Google needs a way to verify your business. If you have a physical address, they will mail you (yes, snail-mail) a postcard with instructions that will arrive within 5 days. There are also alternatives if you do not have a physical address for your business. You will be able to complete the setup before being verified, but it will not publish until you are verified.
Step 8: Select or Create Services You Offer
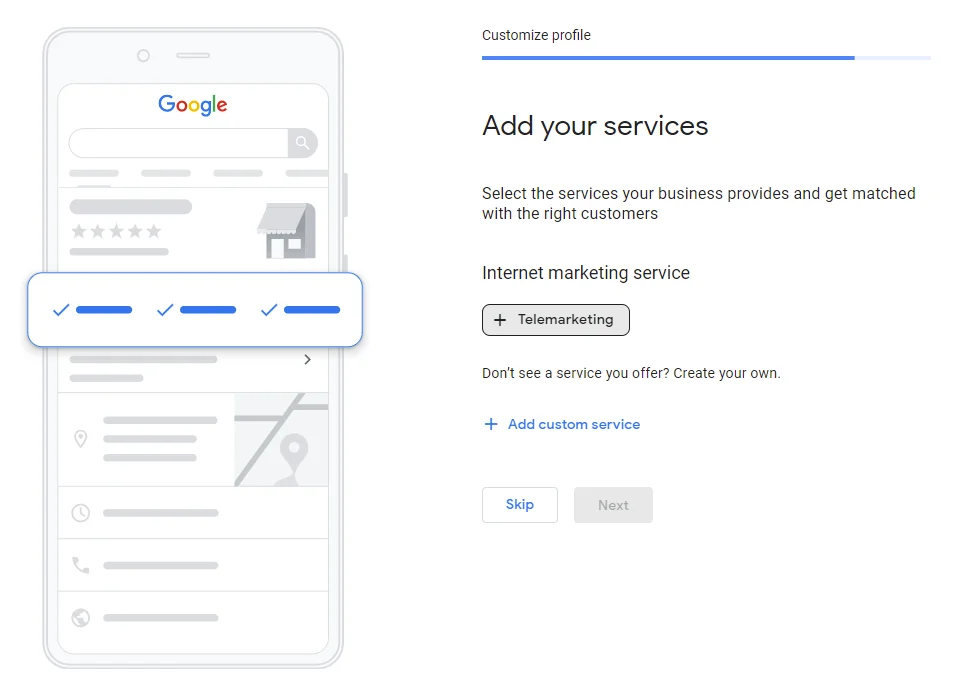
This section is of immense importance. The services you provide are what Google will use to determine if your company is appropriate for people searching for services. Feel free to add your own here if the list that Google provides is incomplete. As you can see here, it most likely will not be a sufficient list of services. Google suggested ‘telemarketing’ for an internet marketing service. It’s true. Sometimes, even the tech gods are flat-out wrong.
Step 9: Select Your Business Hours
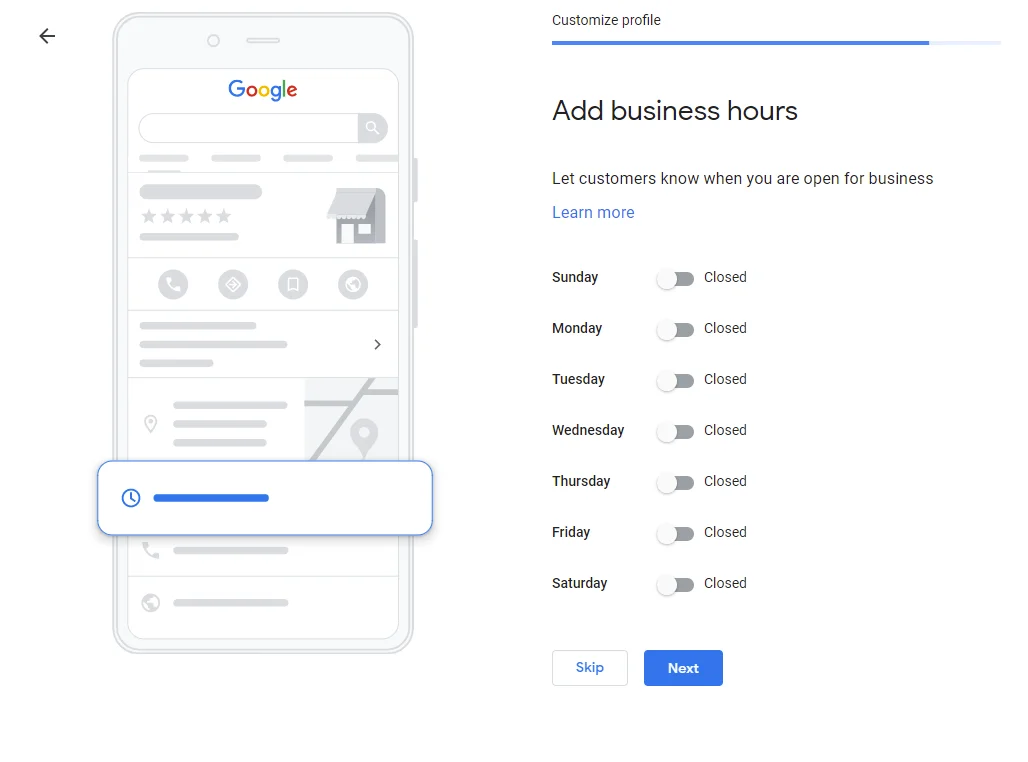
This is important but not exactly necessary depending on the type of business that you are running. If you are a brick-and-mortar shop, then, by all means, include your hours. Otherwise, feel free to skip this section.
Step 10: Select if you would like customers to message you
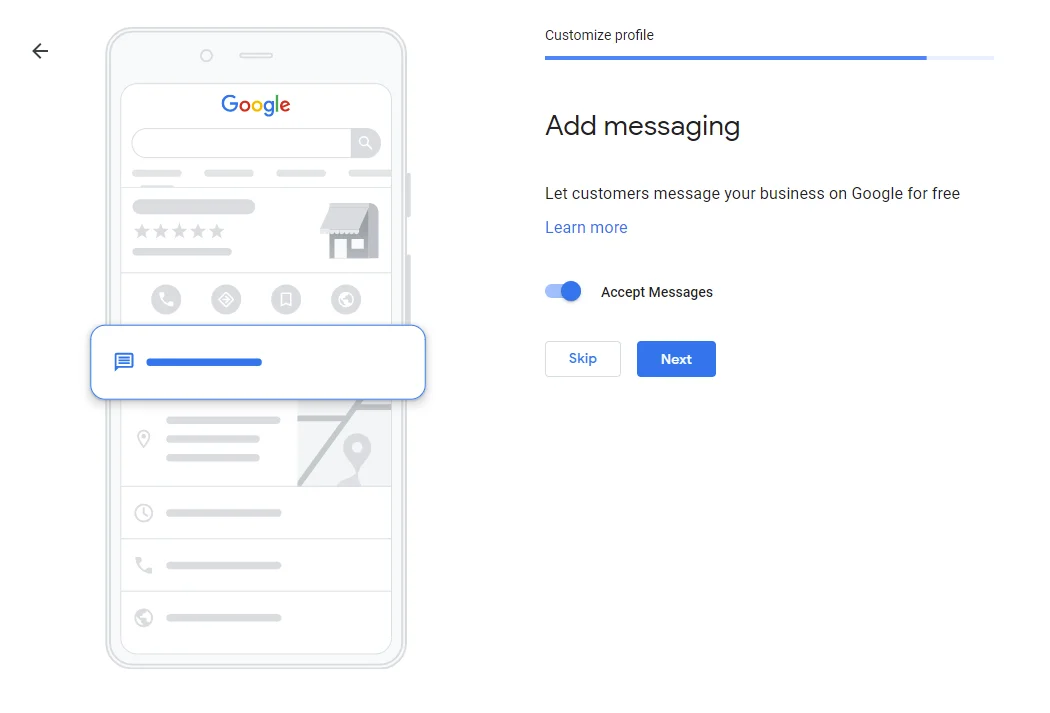
This is relatively new to Google My Business listings. Google affords internet searchers the ability to contact you directly through a platform run by Google. It’s free to you, however, you may have a more preferred method of communication. In some ways, one could argue that allowing your customers to contact you through Google takes some control away from you where messaging is concerned. It is ultimately up to you, so feel free to choose as you like. You can always change your mind in the dashboard later on.
Step 11: Describe Your Business to Your Customers
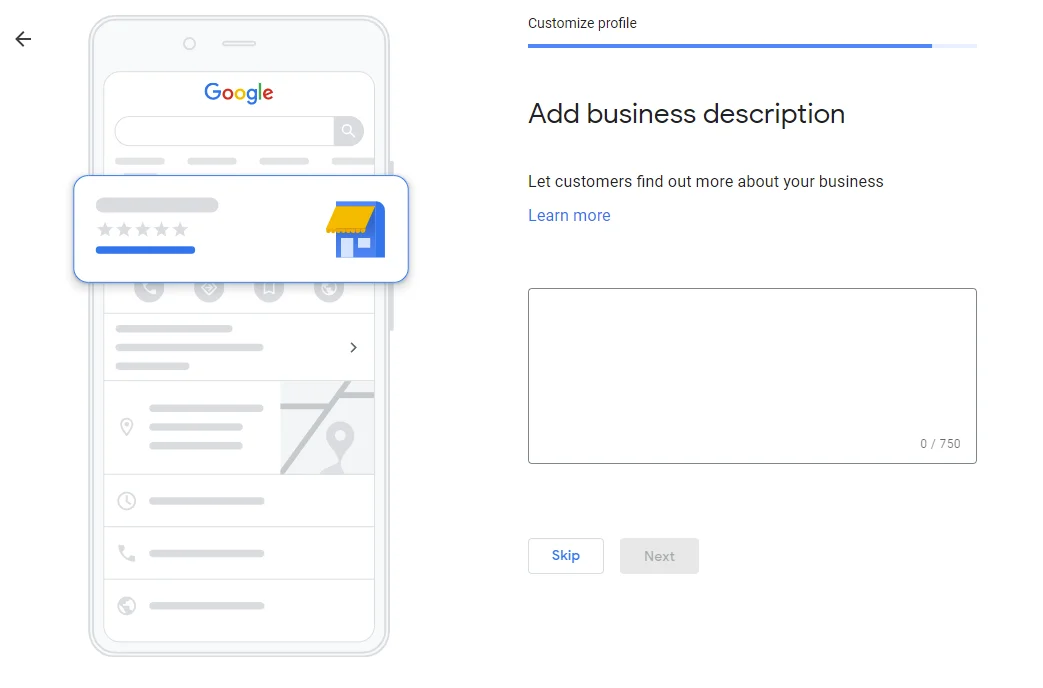
This is by far the most consequential section for your business. A clean, well-written description of what your business is, why it exists, and who you serve will be one of the key deciding factors that helps a customer choose you over your competitors. Take your time with this one and make certain it reflects the tone and quality of your offering.
Step 12: Add Photos of Your Business
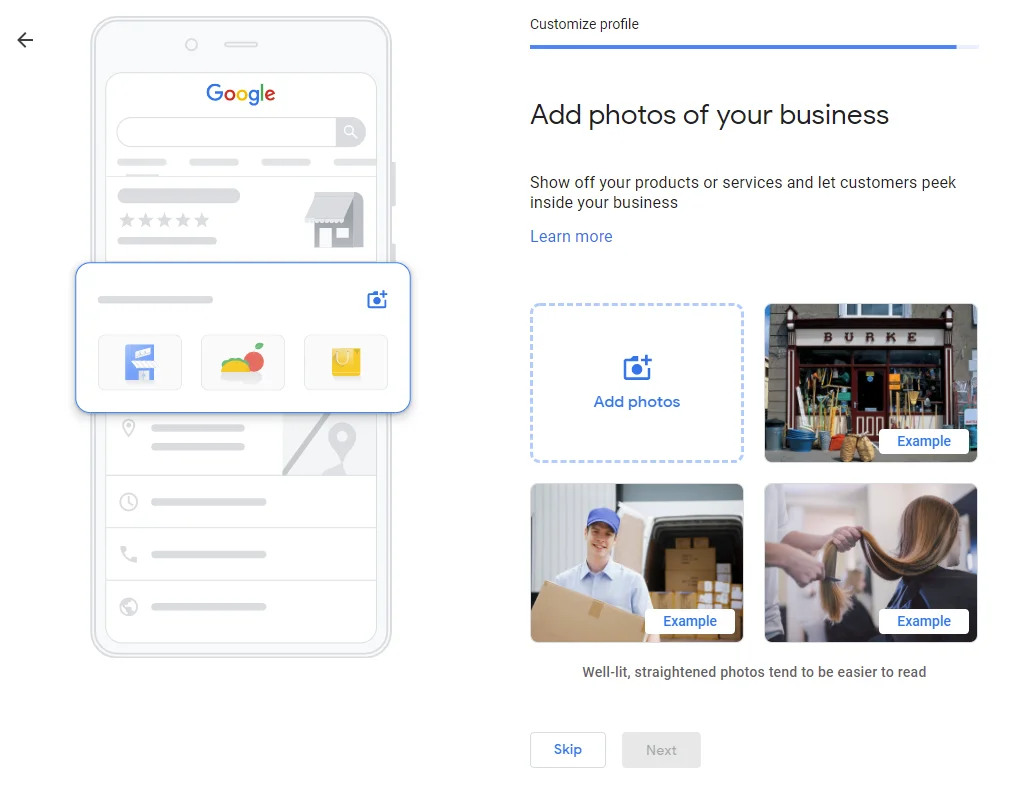
For a restaurant, this is essential but that doesn’t mean that you should ignore this section if you sell life insurance. Photographs speak to a different part of the human mind. When used appropriately, they are immediately relatable to the experience that the customer is going to have with your organization. Google realizes this, and if you do not include photos, Google will let you know that you should reconsider.
You’re All Set!
After you’ve completed these steps, you will be taken to the dashboard. From here, you will be reminded to verify your business on Google if you haven’t already. Now local internet users will be able to see your business and website popup when they are looking for services in your area. Easy as that!


